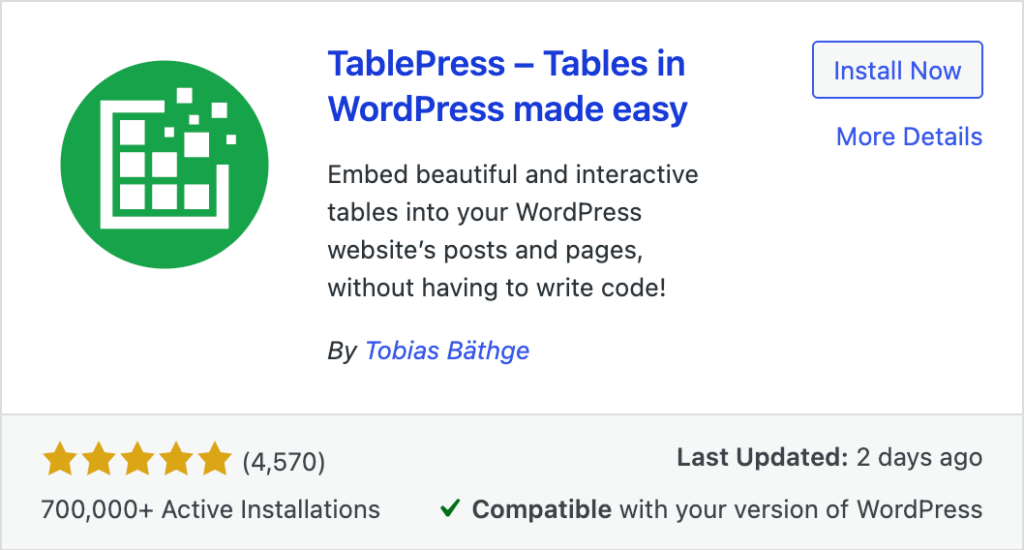
What is TablePress: TablePress in WordPress.TablePress is a popular WordPress plugin that lets you easily create and manage tables in […]
What is TablePress: TablePress in WordPress.TablePress is a popular WordPress plugin that lets you easily create and manage tables in your posts, pages, or widgets — without any coding.
Key Features of TablePress:
Feature
Description
Easy Table Creation
Create tables just like in Excel or Google Sheets using a user-friendly interface.
Shortcode Support
Insert tables anywhere using a simple shortcode like [table id=1 /].
Import/Export
Import/export tables in formats like Excel, CSV, HTML, and JSON.
Sorting & Filtering
Allow users to sort and filter tables on the frontend (with DataTables).
Responsive Tables
Add extensions for mobile-friendly (responsive) tables.
Formulas
Supports basic formulas like in spreadsheets.
Custom Styling
Style tables using built-in settings or custom CSS.
🎯 Where is TablePress Useful?
Course Lists
Pricing Tables
Comparison Tables
Schedules/Timetables
FAQs or Product Specs
🧩 How to Create a Table in TablePress (Step-by-Step)
In the Dashboard sidebar, click on TablePress → Add New Table
Enter:
Table Name
Description (optional)
Number of Rows & Columns
Click Add Table
Step 3: Enter Table Data
After creating the table, you’ll see a simple spreadsheet-style editor
Fill in your table content (like names, prices, info, etc.)
You can:
Merge cells
Add links or images
Use simple formatting (bold, italic, etc.)
Step 4: Customize Table Settings
Below the table editor, you can:
Enable sorting, search, pagination
Toggle row highlighting, alternating colors, etc.
Add custom CSS classes if needed
Step 5: Insert Table on a Page or Post
Copy the Shortcode at the top of the table (e.g., [table id=1 /])
Paste this shortcode wherever you want the table to appear (in a page, post, or widget)
Step 6 (Optional): Import/Export Tables
Go to TablePress → Import/Export
You can import tables from Excel/CSV or export existing tables
Comparison between TablePress and Ninja Tables
Feature
TablePress
Ninja Tables
Ease of Use
Very simple, Excel-like interface
User-friendly with drag-and-drop and live preview
Free Version
✅ Yes (fully functional for most users)
✅ Yes, but with limitations (Pro version unlocks more)
Responsive Tables
❌ Needs separate Responsive Extension
✅ Built-in in free and pro versions
Design Customization
Basic (CSS required for advanced styling)
Advanced with built-in style customizer
Front-End Sorting/Filtering
✅ Yes (via DataTables integration)
✅ Yes (with extra features in Pro)
Import/Export Options
✅ Excel, CSV, JSON, HTML
✅ Excel, CSV, JSON
📝 Best For Whom?
Use Case
Recommended Plugin
Basic Tables (Free)
✅ TablePress
Responsive, Stylish Tables
✅ Ninja Tables
Visual Customization Without Coding
✅ Ninja Tables
Advanced Integrations (Woo, Forms)
✅ Ninja Tables Pro
Education/Research Tables
✅ TablePress
🏁 Summary
Choose TablePress if you want a lightweight, free, and reliable plugin for basic tables, especially in blogs, research, or education.
Choose Ninja Tablesif you need modern design, responsive layout, or integrations with WooCommerce, forms, or charts — especially helpful for business websites.